Step-by-Step Guide: Deploying Your React Project on Firebase

Written by
Sanjay Jyani
Front End Developer

Palvi Tiwari
Front End Developer

Preeti Yadav
Front End Developer

Table of contents
Build with Radial Code
Share this
Deploying your React project to Firebase Hosting is a great way to make it accessible to the world. Firebase offers a fast and secure hosting solution with a global content delivery network (CDN). In this guide, we'll walk you through the process of deploying your React application to Firebase in a few simple steps.
Prerequisites
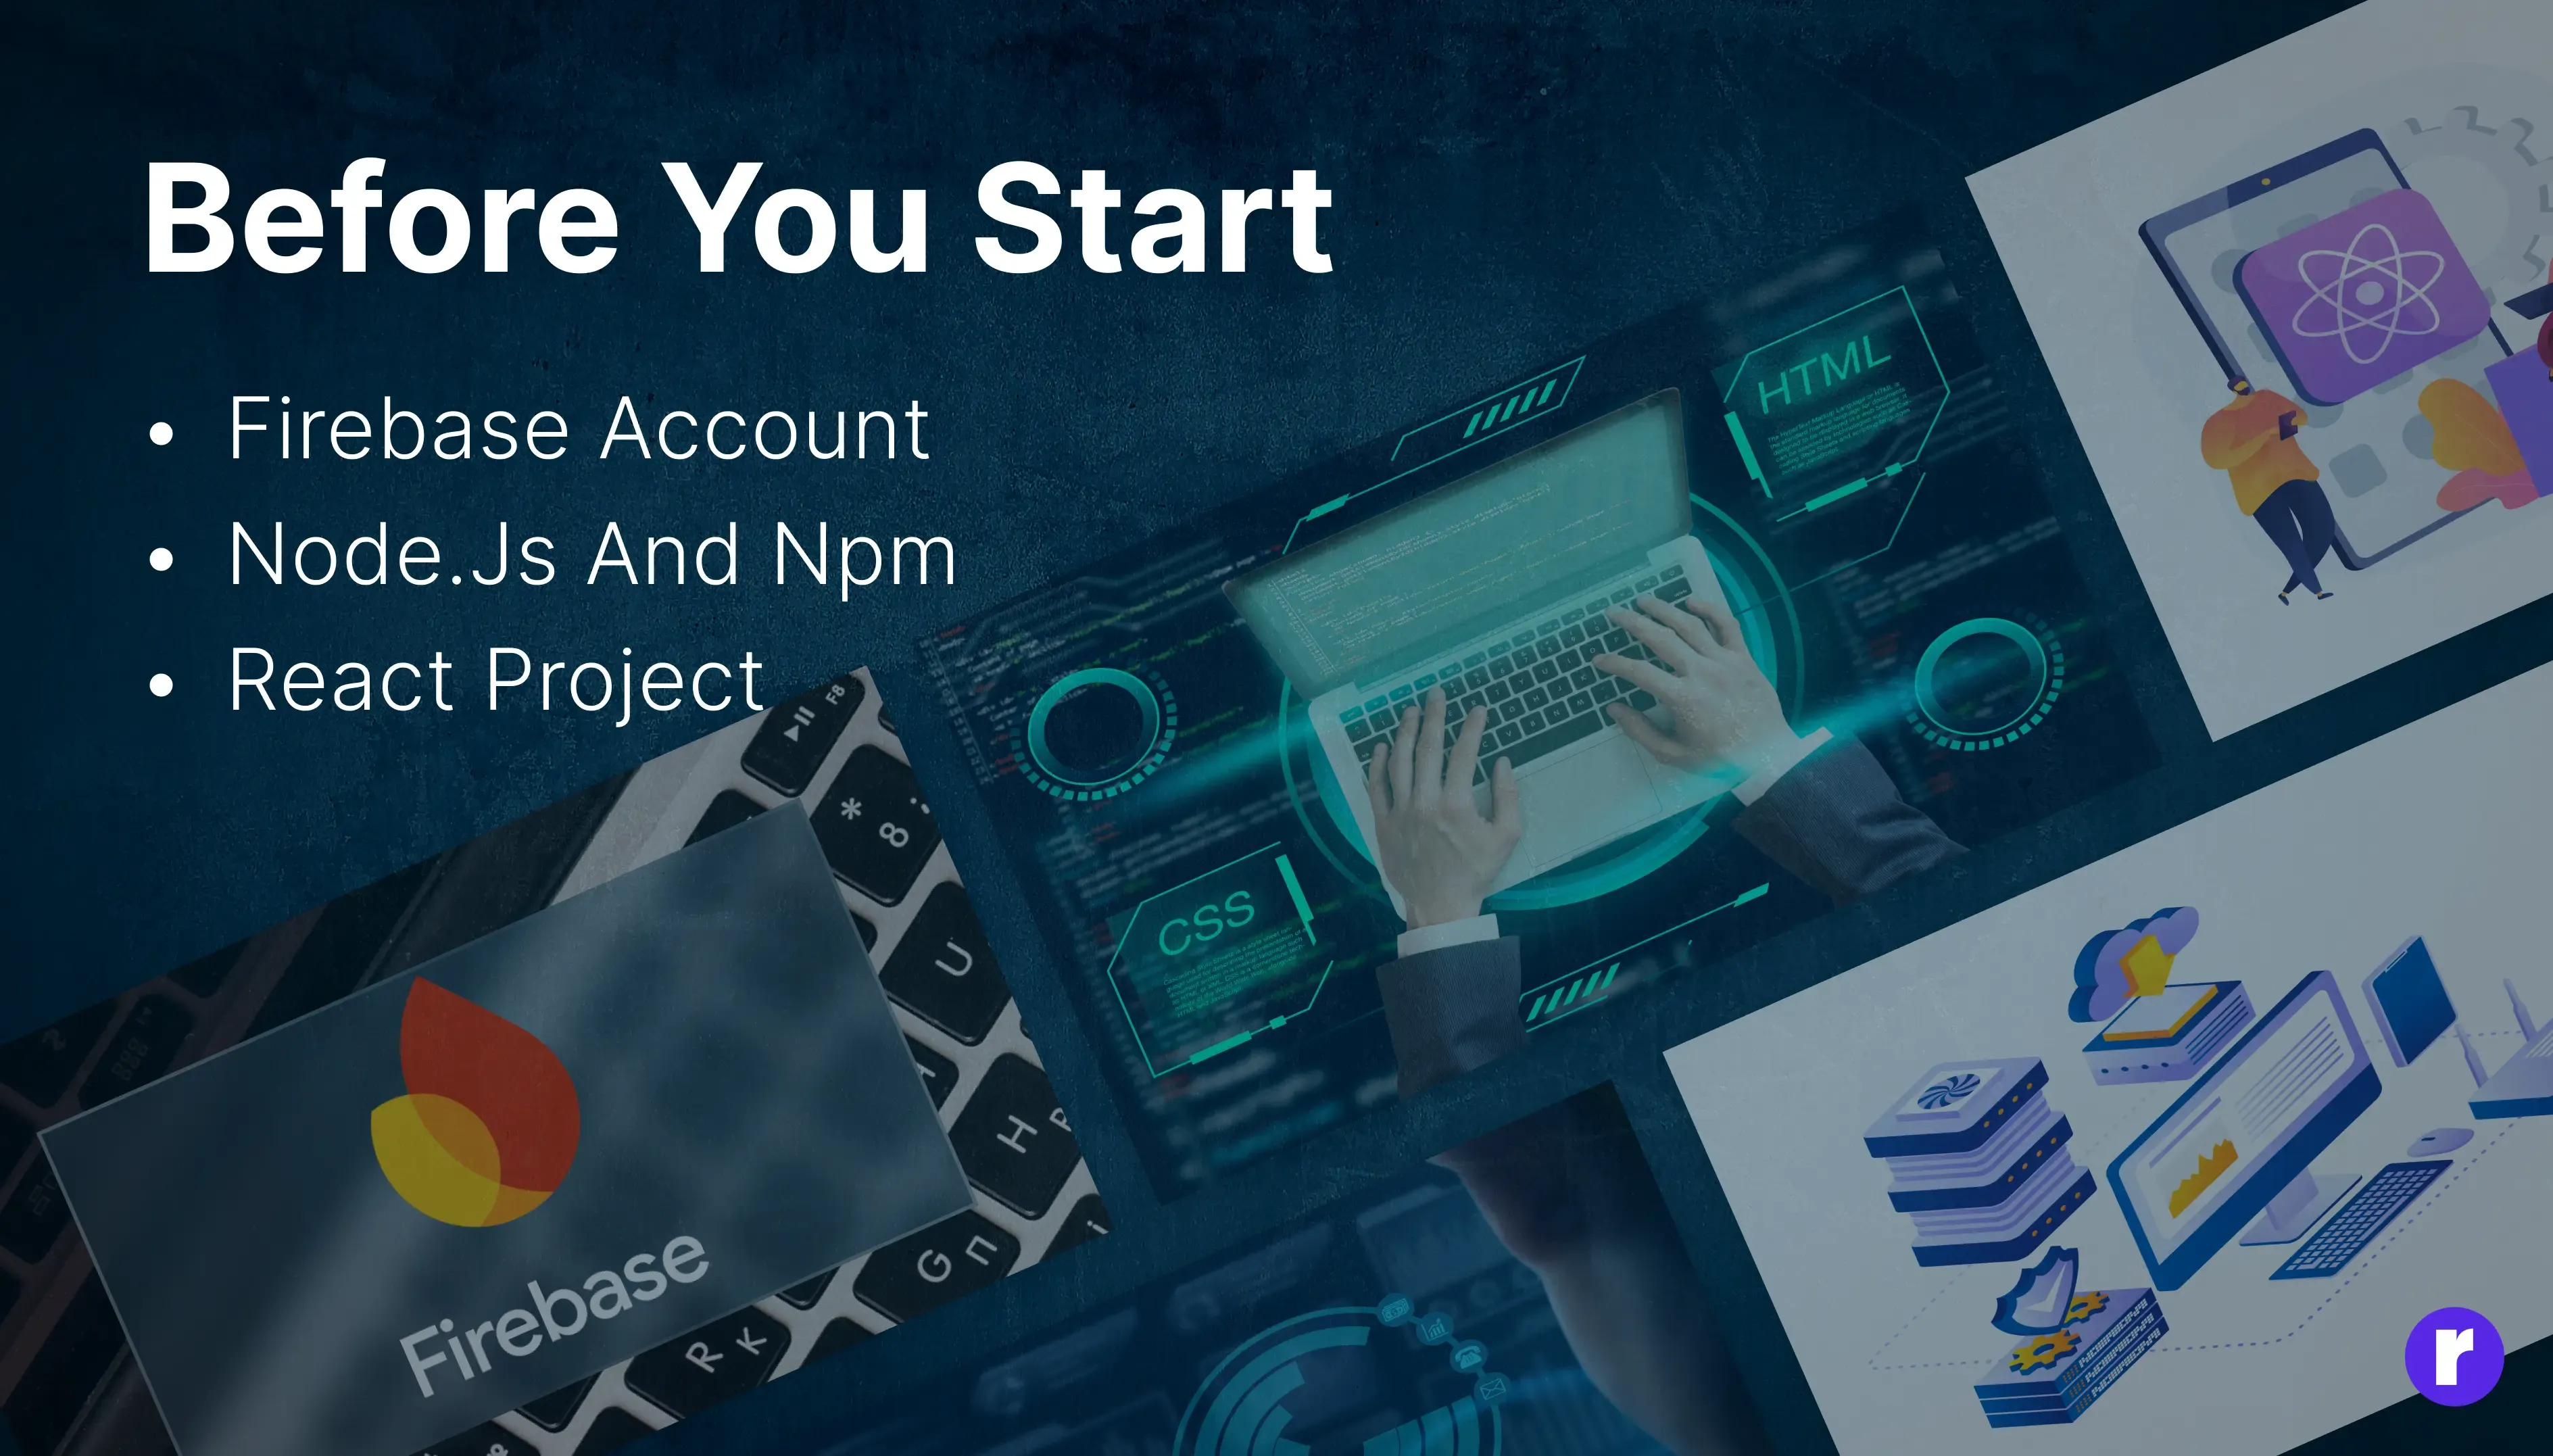
To begin, make sure you have the following:
- A Firebase account. If you don't have one, you can create it on the Firebase Console.
- Node.js and npm are installed on your machine. You can download and install them from the Node.js official website.
- A React project ready to deploy.
Steps to deploy project on firebase

Step 1: Install Firebase CLI
First, you need to install the Firebase Command Line Interface (CLI) globally on your machine. Open your terminal and run:
Install Firebase CLI: Open your terminal and run:
npm install -g firebase-toolsLogin to Firebase: Authenticate your Firebase account by running:
firebase loginStep 2: Prepare Your React App
To deploy your app, first build your React project. This step generates static files for production.
Build Your React App: Navigate to your React project directory and run:
npm run buildThis command creates a build directory containing optimized and minified static files.
Step 3: Initialize Firebase in Your Project
Navigate to Your Project Directory: Ensure you’re in the root directory of your React project.
Initialize Firebase: Run the following command to configure Firebase for your project:
firebase initYou will be prompted with several configuration options:
Select Firebase features: Choose Hosting by pressing the spacebar and then Enter.
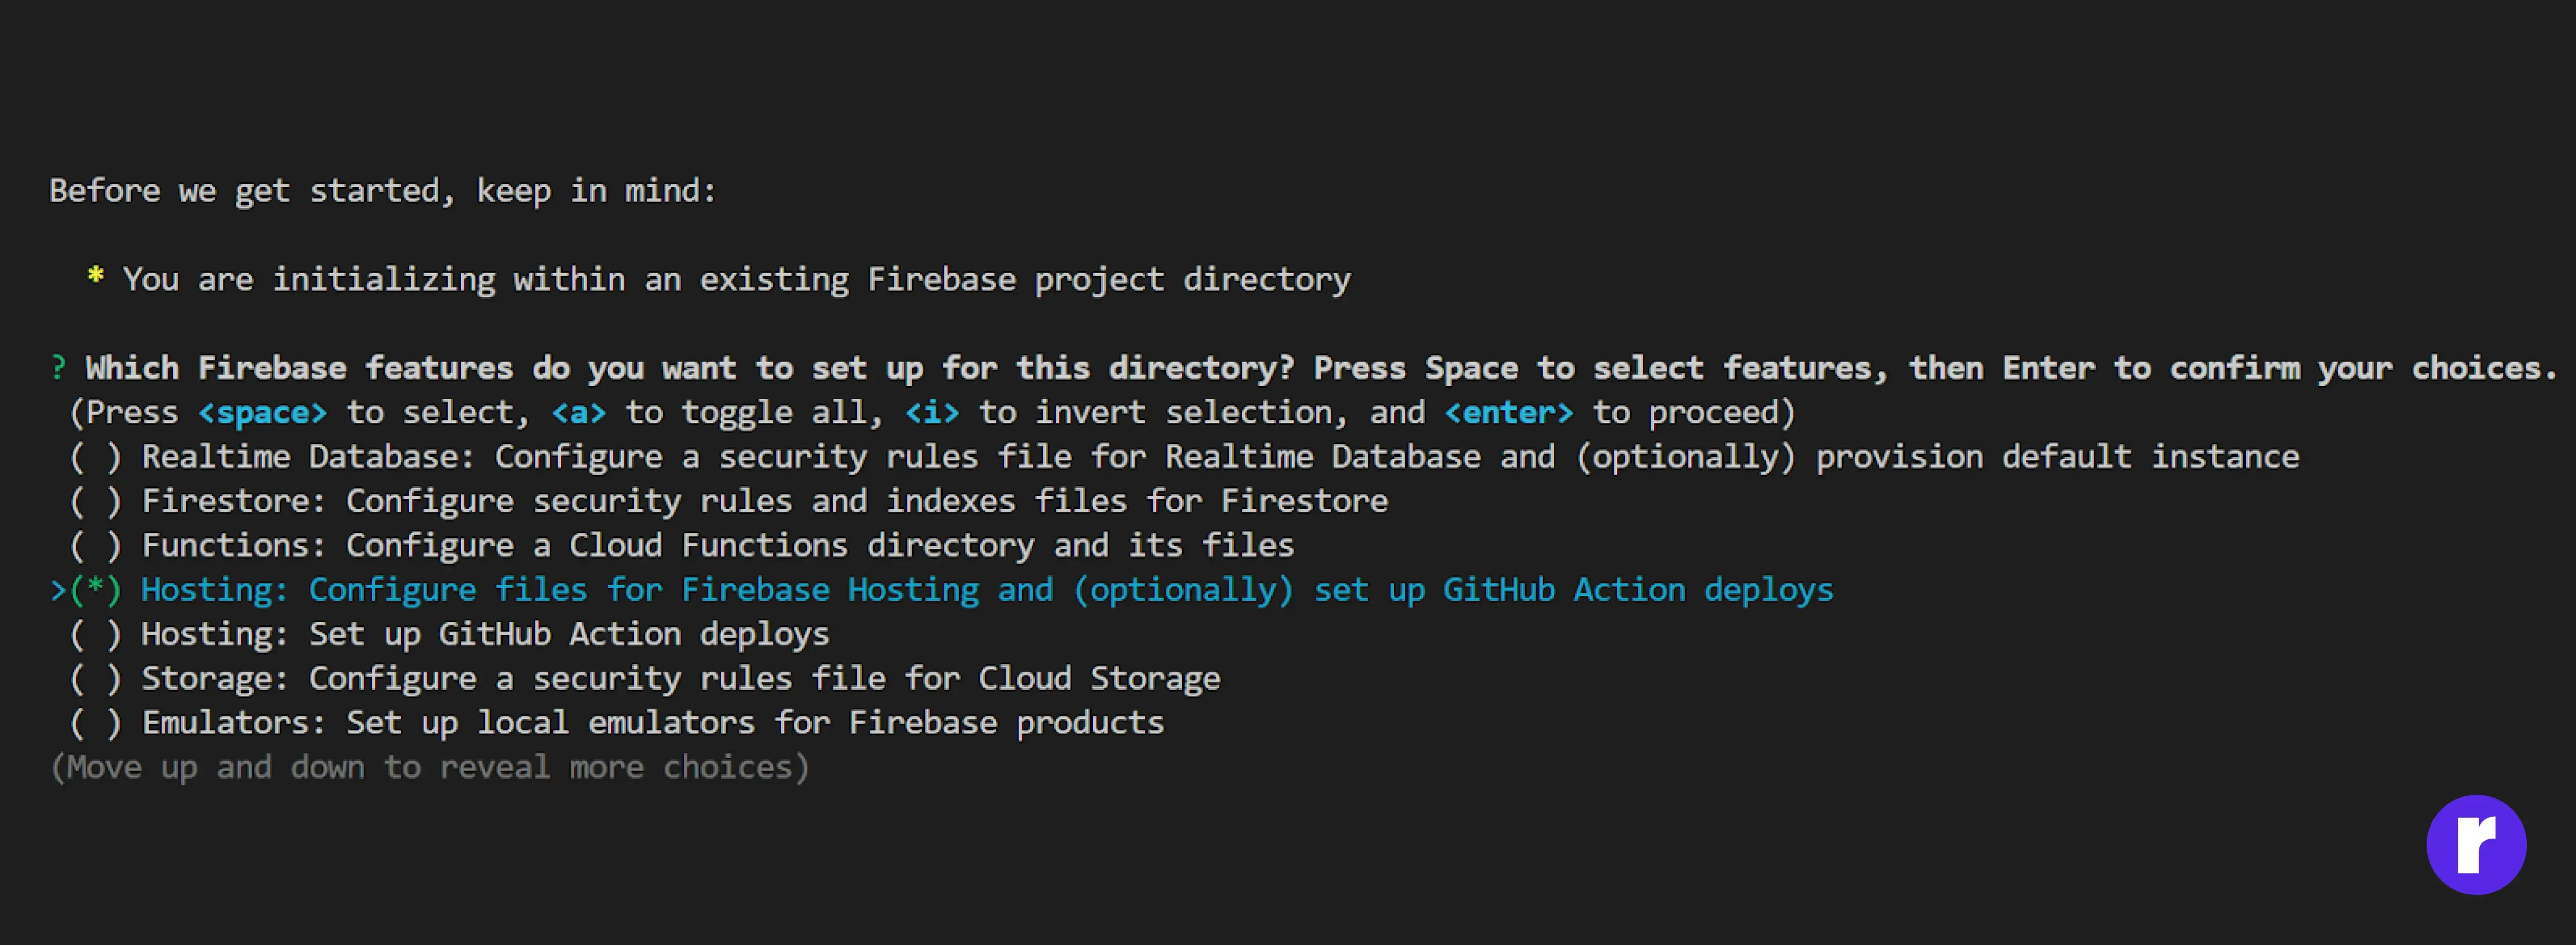
Select Firebase project: If you already have a Firebase project, select it from the list. If not, create a new project in the Firebase Console and then select it.
Set up the public directory: Type build and press Enter. This is the directory where your production-ready files will be stored.
Configure as a single-page app: Type y (yes) and press Enter.
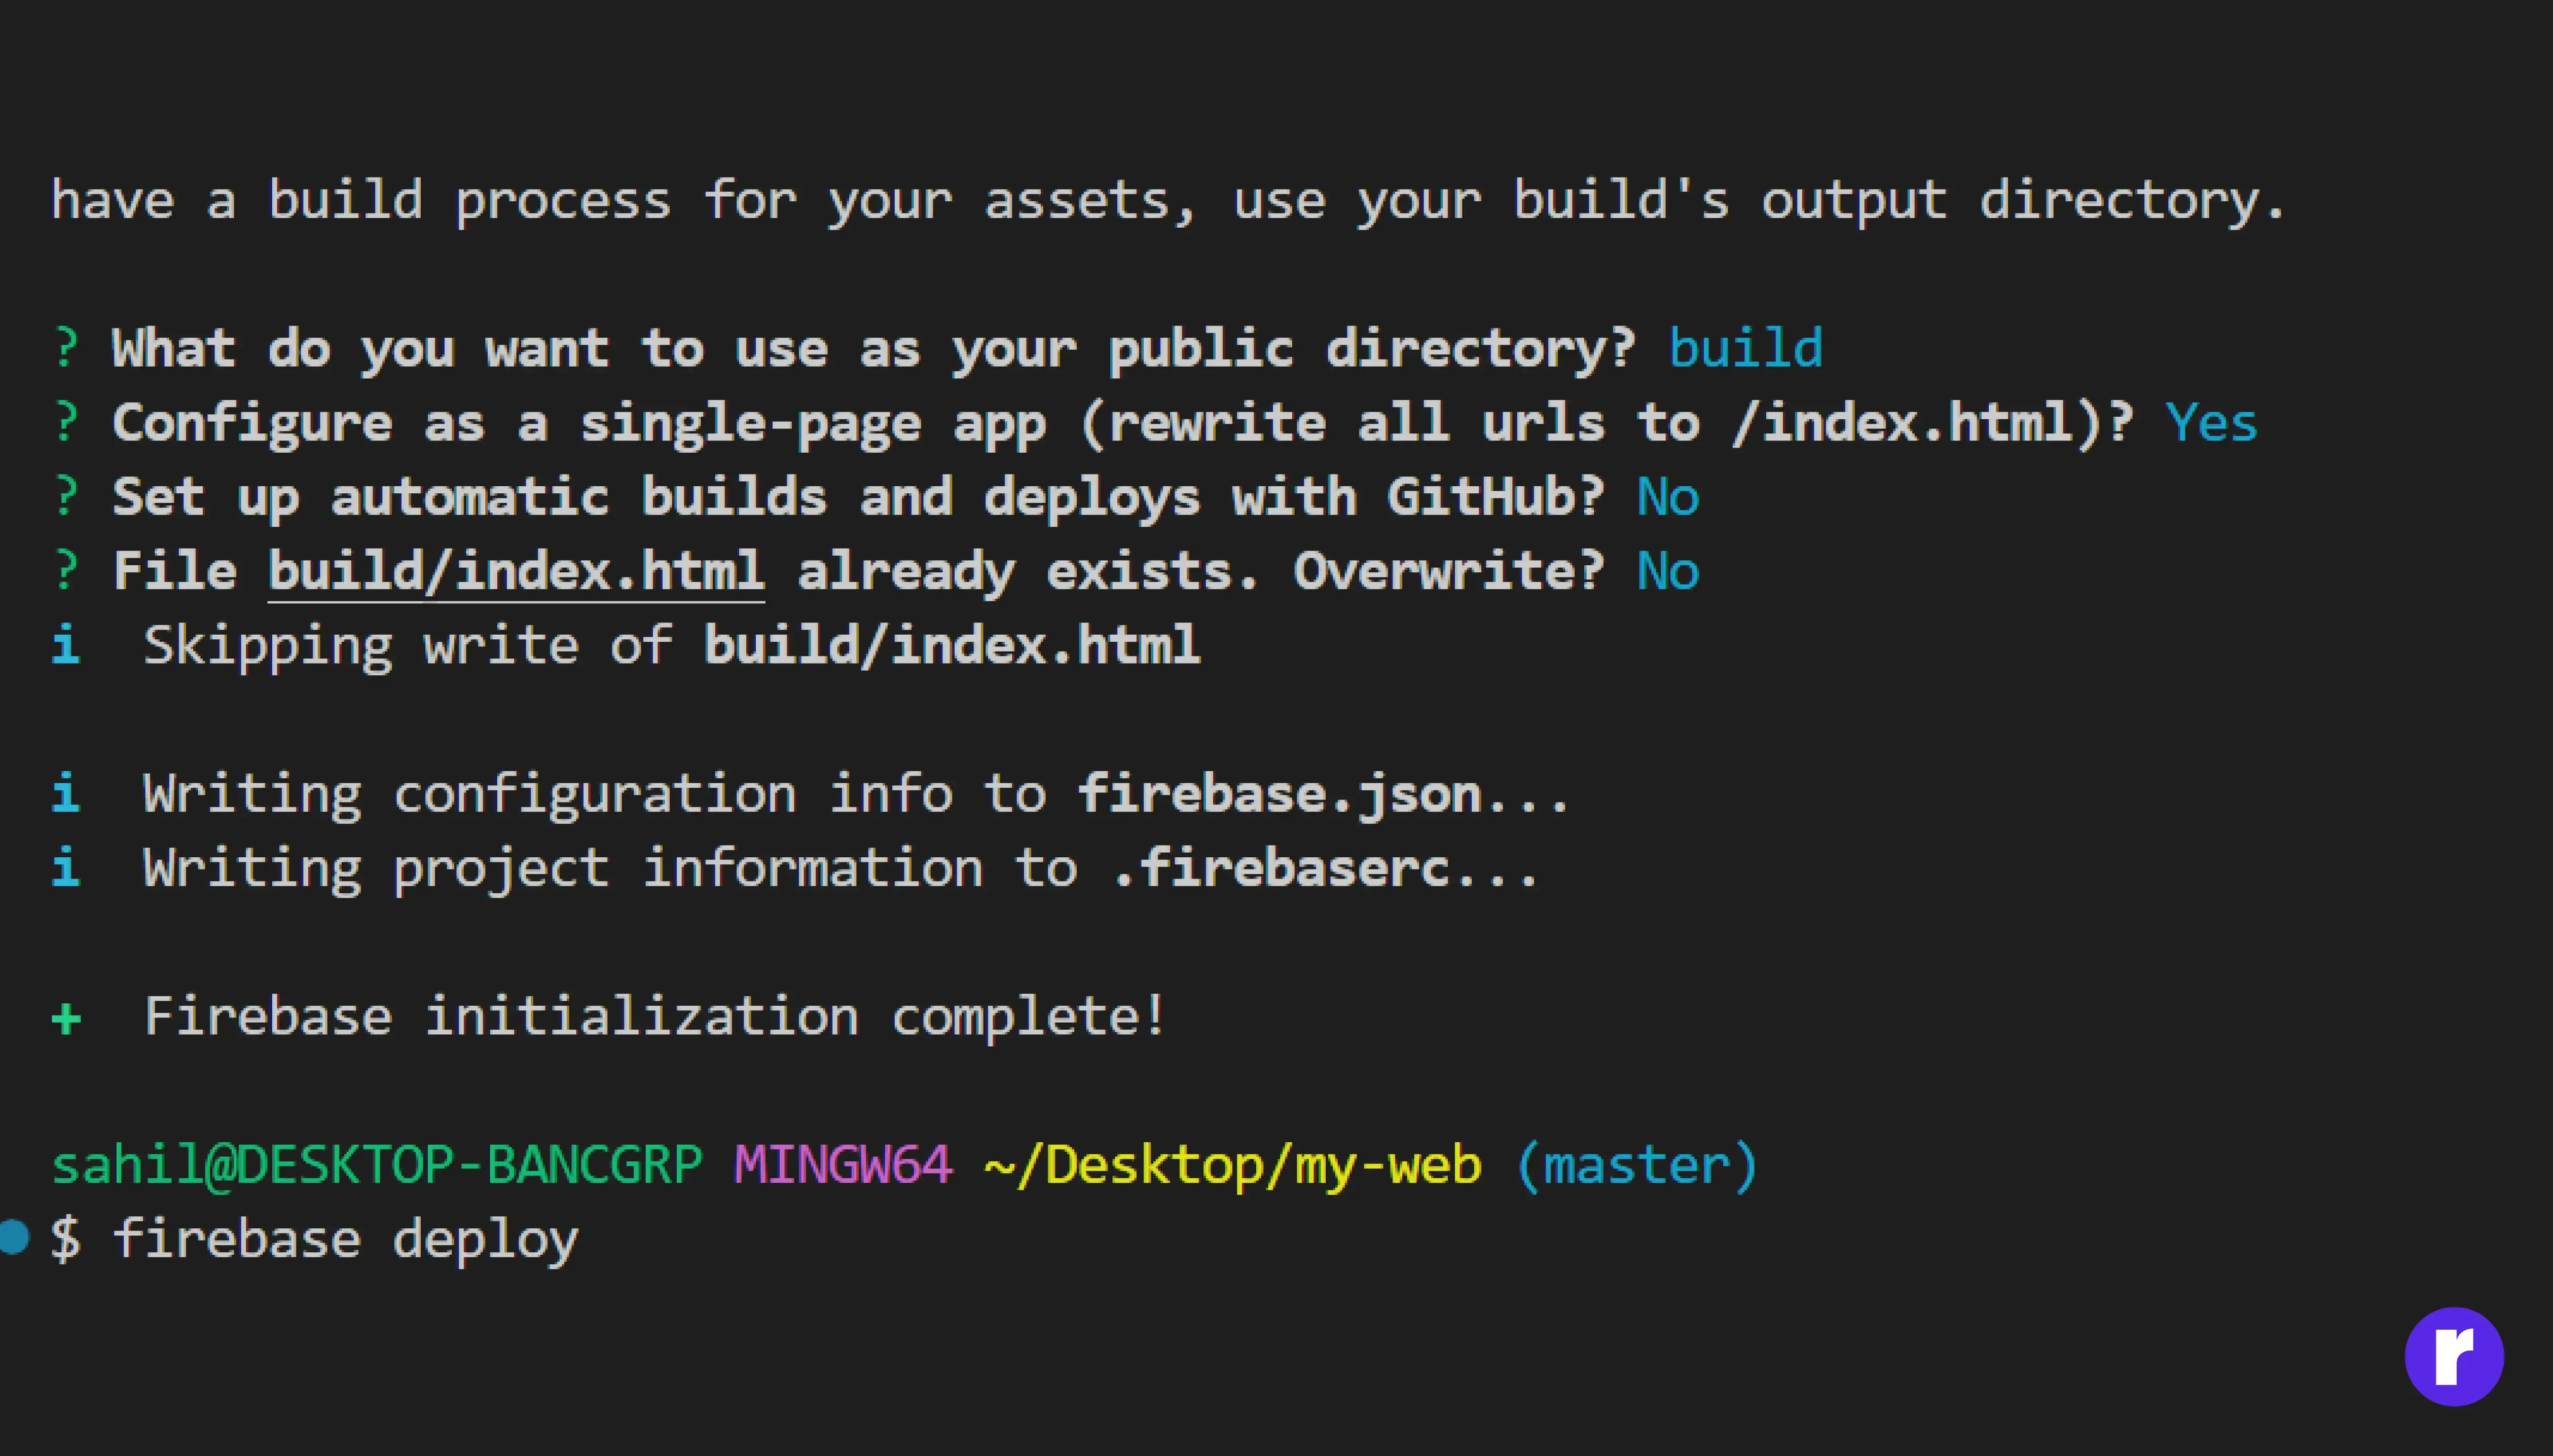
Step 4: Deploy to Firebase
Once the build process is complete, you can deploy your application to Firebase by running:
firebase loginThis command will upload the contents of the build directory to Firebase Hosting.
Step 5: Access Your Deployed App
After the deployment is complete, the Firebase CLI will provide you with a unique URL where your React application is hosted. Open this URL in your browser to see your deployed application in action.
Common Issues and Troubleshooting
- Build Errors: Ensure there are no errors in your React application before running npm run build. Fix any errors and try building again.
- Firebase Authentication Errors: Make sure you are logged into Firebase CLI with the correct account. You can log in using firebase login.
- 404 Errors: If you encounter 404 errors when navigating to different routes in your React app, ensure that you have configured Firebase Hosting as a single-page app.
Additional Tips
- Firebase Hosting Configuration: Customize your hosting settings in the firebase.json file that was created during initialization. This file allows you to configure rewrites, redirects, and other settings. For more free hosting visit here
- Custom Domains: To use a custom domain, go to the Firebase Console, navigate to the Hosting section, and follow the instructions to set up your domain.
- Continuous Deployment: Integrate Firebase Hosting with GitHub Actions or other CI/CD tools to automate your deployments.
Conclusion
Deploying a React project to Firebase is a straightforward and efficient way to get your application online. With Firebase Hosting, you benefit from a fast and secure hosting solution that integrates seamlessly with your development workflow. For more advanced web and app development needs, you can rely on RadialCode, a full-stack development company specializing in high-level programming languages and frameworks. Visit RadialCode.com or explore our learning platform at learn.radialcode.in to discover how we can help bring your projects to life.