How to Use AOS in React for Smooth Scroll Animations – Beginner to Advanced

Written by

Vishal Chanda
Front End Developer
Table of contents
Build with Radial Code
Share this
Smooth scroll animations can instantly make your React application feel modern and engaging. Instead of static content appearing all at once, elements can fade, slide, or zoom into view as users scroll — creating a more dynamic user experience.
With AOS (Animate On Scroll), you can easily add these animations to your React project without writing complex animation logic. In this guide, you’ll learn how to set up and use AOS in React, from basic implementation to advanced customization, so you can build clean and interactive interfaces with confidence.
What is AOS?
AOS (Animate On Scroll) is a lightweight JavaScript library that adds animations to elements as they appear in the viewport while scrolling. It allows you to apply effects like fade, slide, zoom, and flip using simple data-aos attributes — without writing complex animation code.
The library automatically detects when elements enter or leave the screen and triggers animations smoothly. It is highly customizable, performance-friendly, and easy to integrate into React applications. AOS is commonly used in landing pages, portfolios, and modern web interfaces to create a more engaging and interactive user experience.
Installing AOS in React
Installing AOS in a React project is quick and straightforward. You just need to install the library and import its styles to start using scroll animations.
First, install AOS using npm or yarn:
npm install aosor
yarn add aosAfter installation, import the AOS CSS file in your main component file (such as App.js or main.jsx) so that the animations are properly styled:
import 'aos/dist/aos.css';
Once the package and styles are added, your project is ready to initialize AOS and start applying animations to your React components.
Initializing AOS with useEffect
After installing AOS, the next step is to initialize it inside your React component. Since React renders components dynamically, AOS should be initialized inside the useEffect hook to ensure it runs after the component mounts.
Here’s a basic example:
import React, { useEffect } from "react";
import AOS from "aos";
import "aos/dist/aos.css";

const App = () => {
  useEffect(() => {
    AOS.init({
      duration: 1000,  // animation duration in milliseconds
      once: true,  // animation runs only once
    });
  }, []);
  return (

<div>
  <h1 data-aos="fade-up"> Hello World! </h1>
</div>
);
}

export default App;
Now AOS is successfully initialized, and you can start adding animations to your components using the data-aos attribute.
Adding Animations to Components
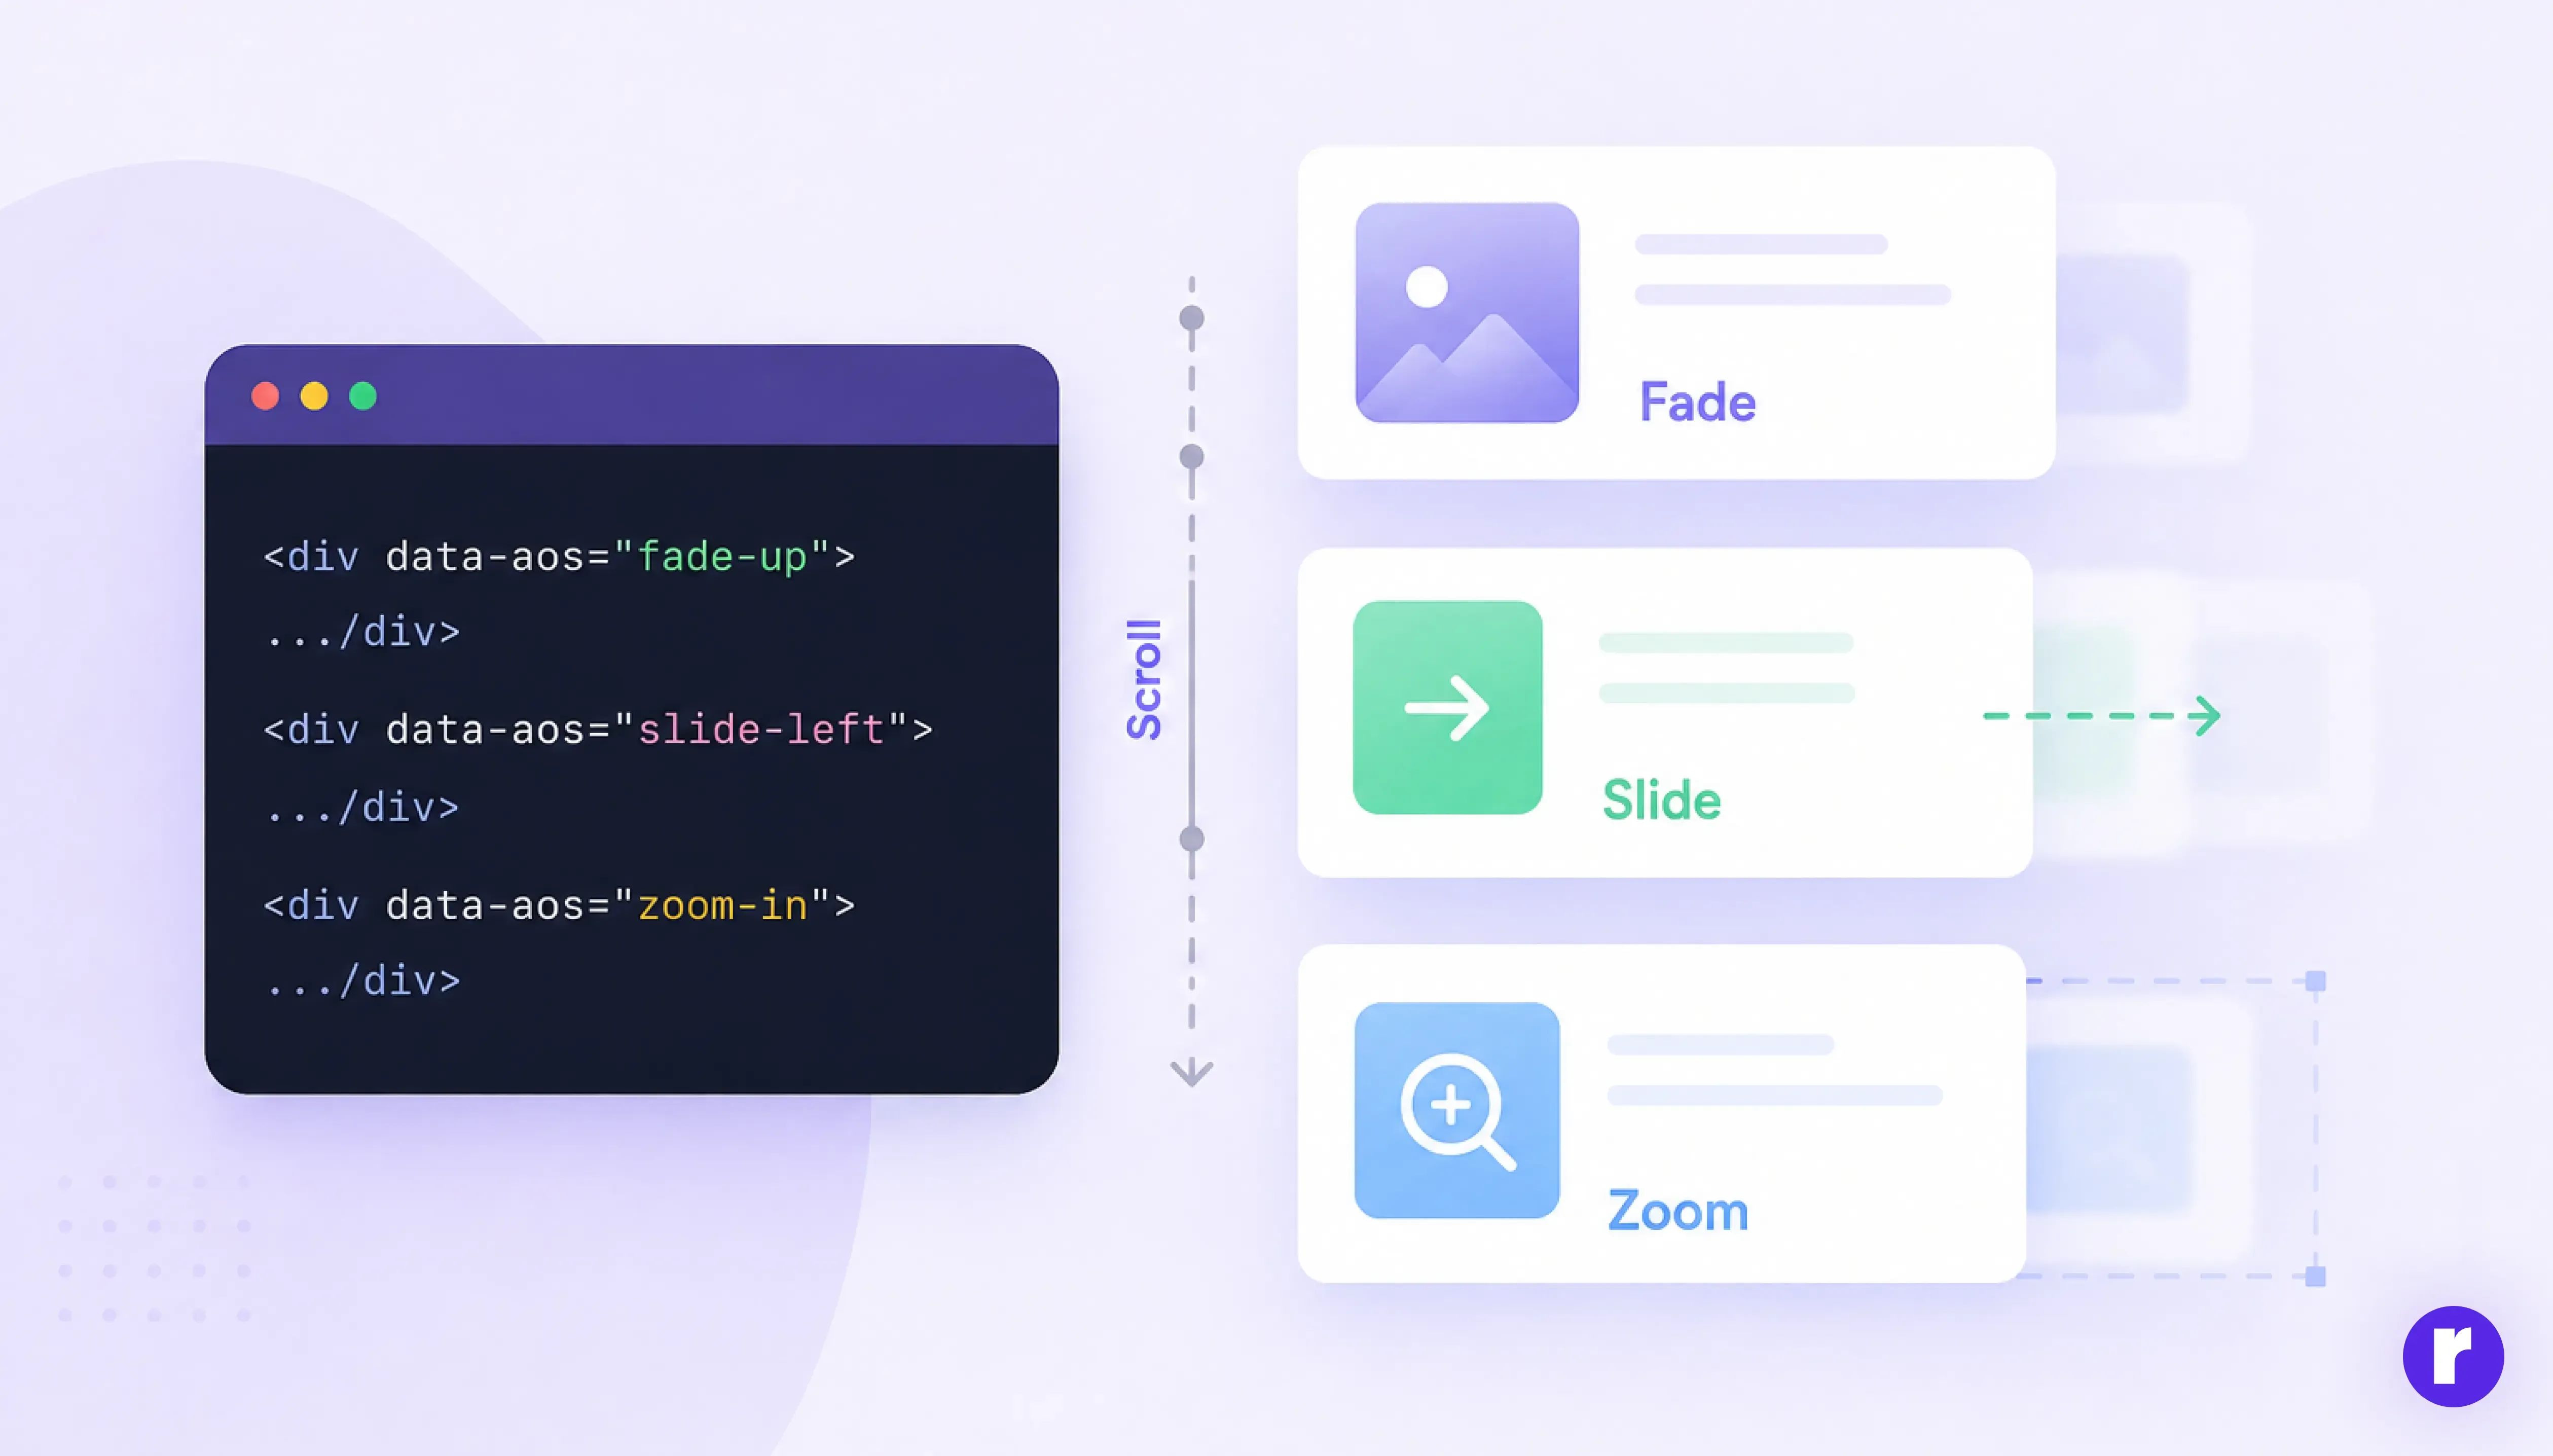
Once AOS is initialized, adding animations to your React components is very simple. You just need to add the data-aos attribute to any HTML or JSX element and specify the animation type you want.
Here’s a basic example:
<h2 data-aos="fade-up"> Fade Up Animation </h2>
<p data-aos="fade-right"> This paragraph will fade in from the right. </p>
<div data-aos="zoom-in"> Zoom In Effect </div>
AOS provides multiple built-in animation types such as:
- Fade-up: The element fades in while moving upward from below
- Fade-down: The element fades in while moving downward from above
- Fade-left: The element fades in while entering from the right side
- Fade-right: The element fades in while entering from the left side
- Zoom-in: The element scales up from a smaller size while becoming visible
- Flip-left: The element rotates in from the left with a flipping effect
- Slide-up: The element smoothly slides upward into view
You can apply these animations to headings, images, buttons, cards, or any other component. As the user scrolls and the element enters the viewport, the animation will trigger automatically.
Master web animations with industry-ready insights → Visit Now.
Customizing Animation Settings
AOS allows you to customize animations to match your design and user experience needs. You can control timing, delay, easing, and trigger position using additional data-aos attributes or global configuration options.
Here’s an example with custom settings:
<div data-aos="fade-up"
  data-aos-duration="1500"
  data-aos-delay="300"
  data-aos-easing="ease-in-out"
  data-aos-offset="200">
  Custom Animated Element
 </div>
Common Customization Options:
- Data-aos-duration: Controls how long the animation runs (in milliseconds)
- Data-aos-delay: Adds a delay before the animation starts
- Data-aos-easing: Defines the animation timing function
- Data-aos-offset: Adjusts when the animation should trigger while scrolling
You can also set global options inside AOS.init() to apply the same behavior across your entire application. By combining these settings, you can create smoother, more refined scroll animations that perfectly match your UI design.
Ready for advanced animations? Check out our GSAP guide: Why Every Developer Should Learn GSAP for Animations.
Why Use AOS for Scroll Animations?
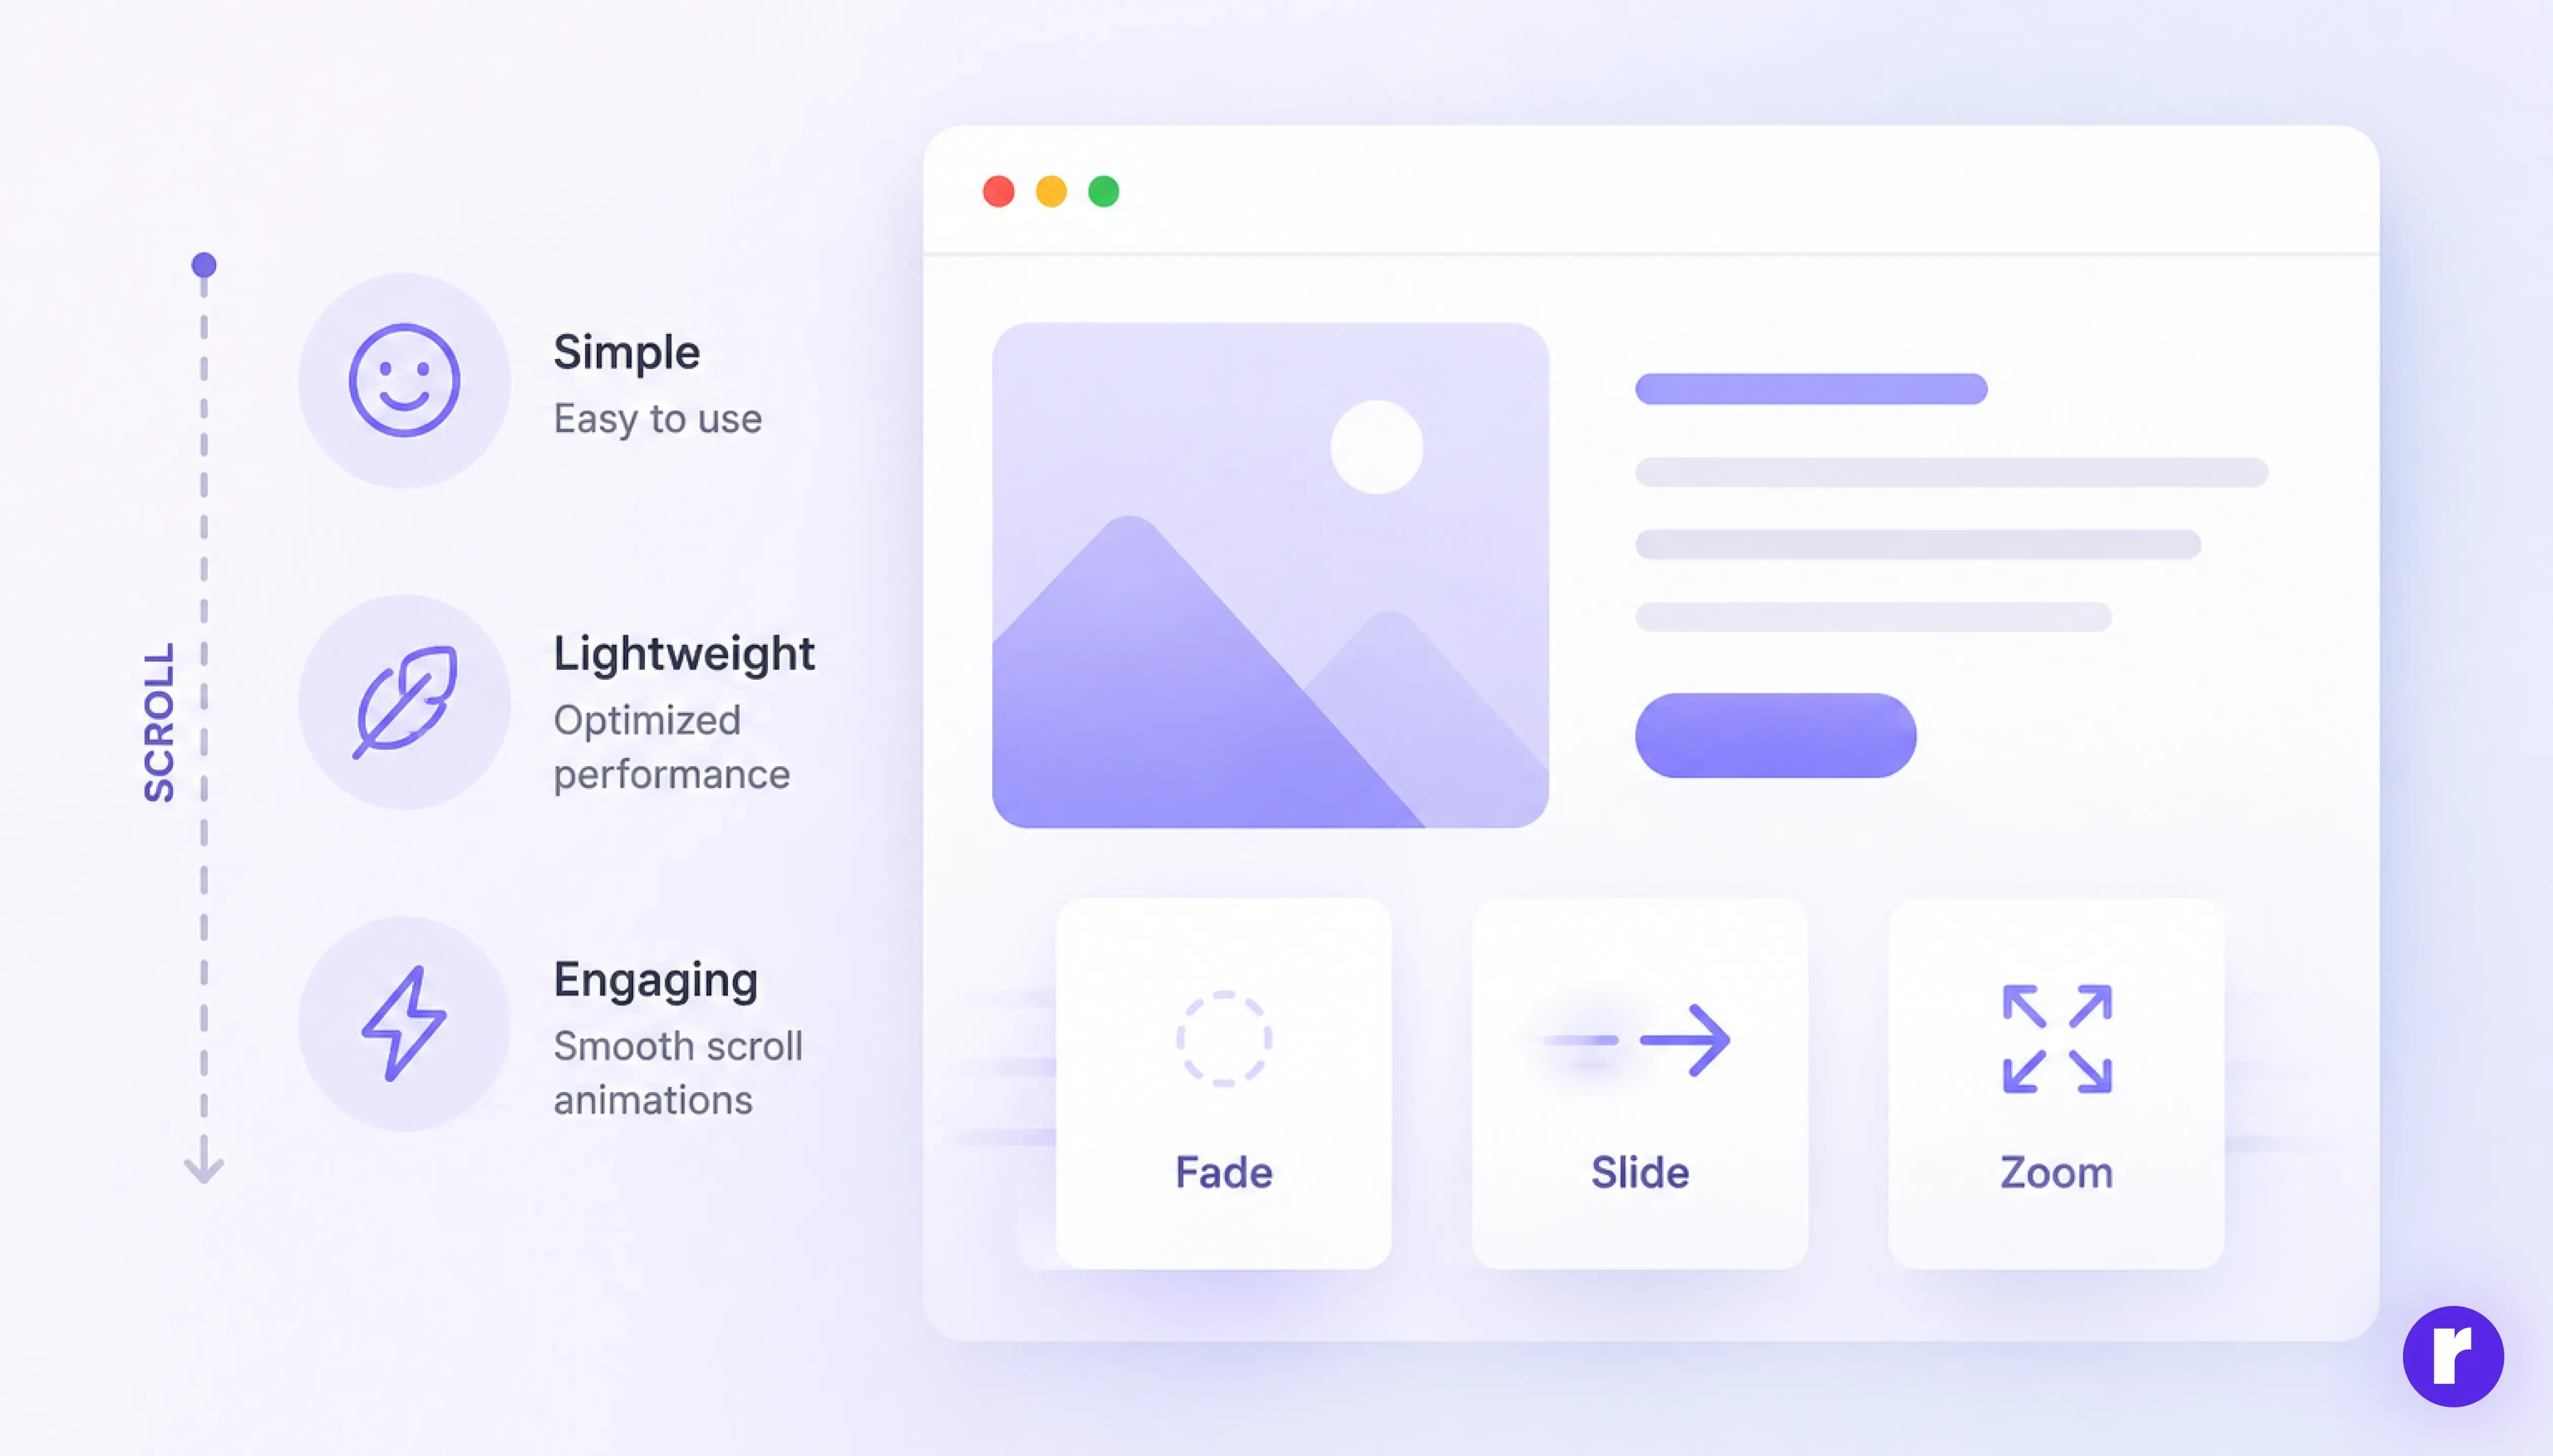
AOS is a popular choice for adding scroll-based animations because it is simple, lightweight, and easy to integrate into modern web applications. Instead of writing complex animation logic, developers can apply animations using simple attributes and minimal configuration.
It helps create smooth visual transitions that make web pages feel more interactive and engaging. AOS is especially useful for landing pages, portfolios, and modern UI designs where animations enhance the user experience without affecting performance.
Designing Better Interfaces with AOS
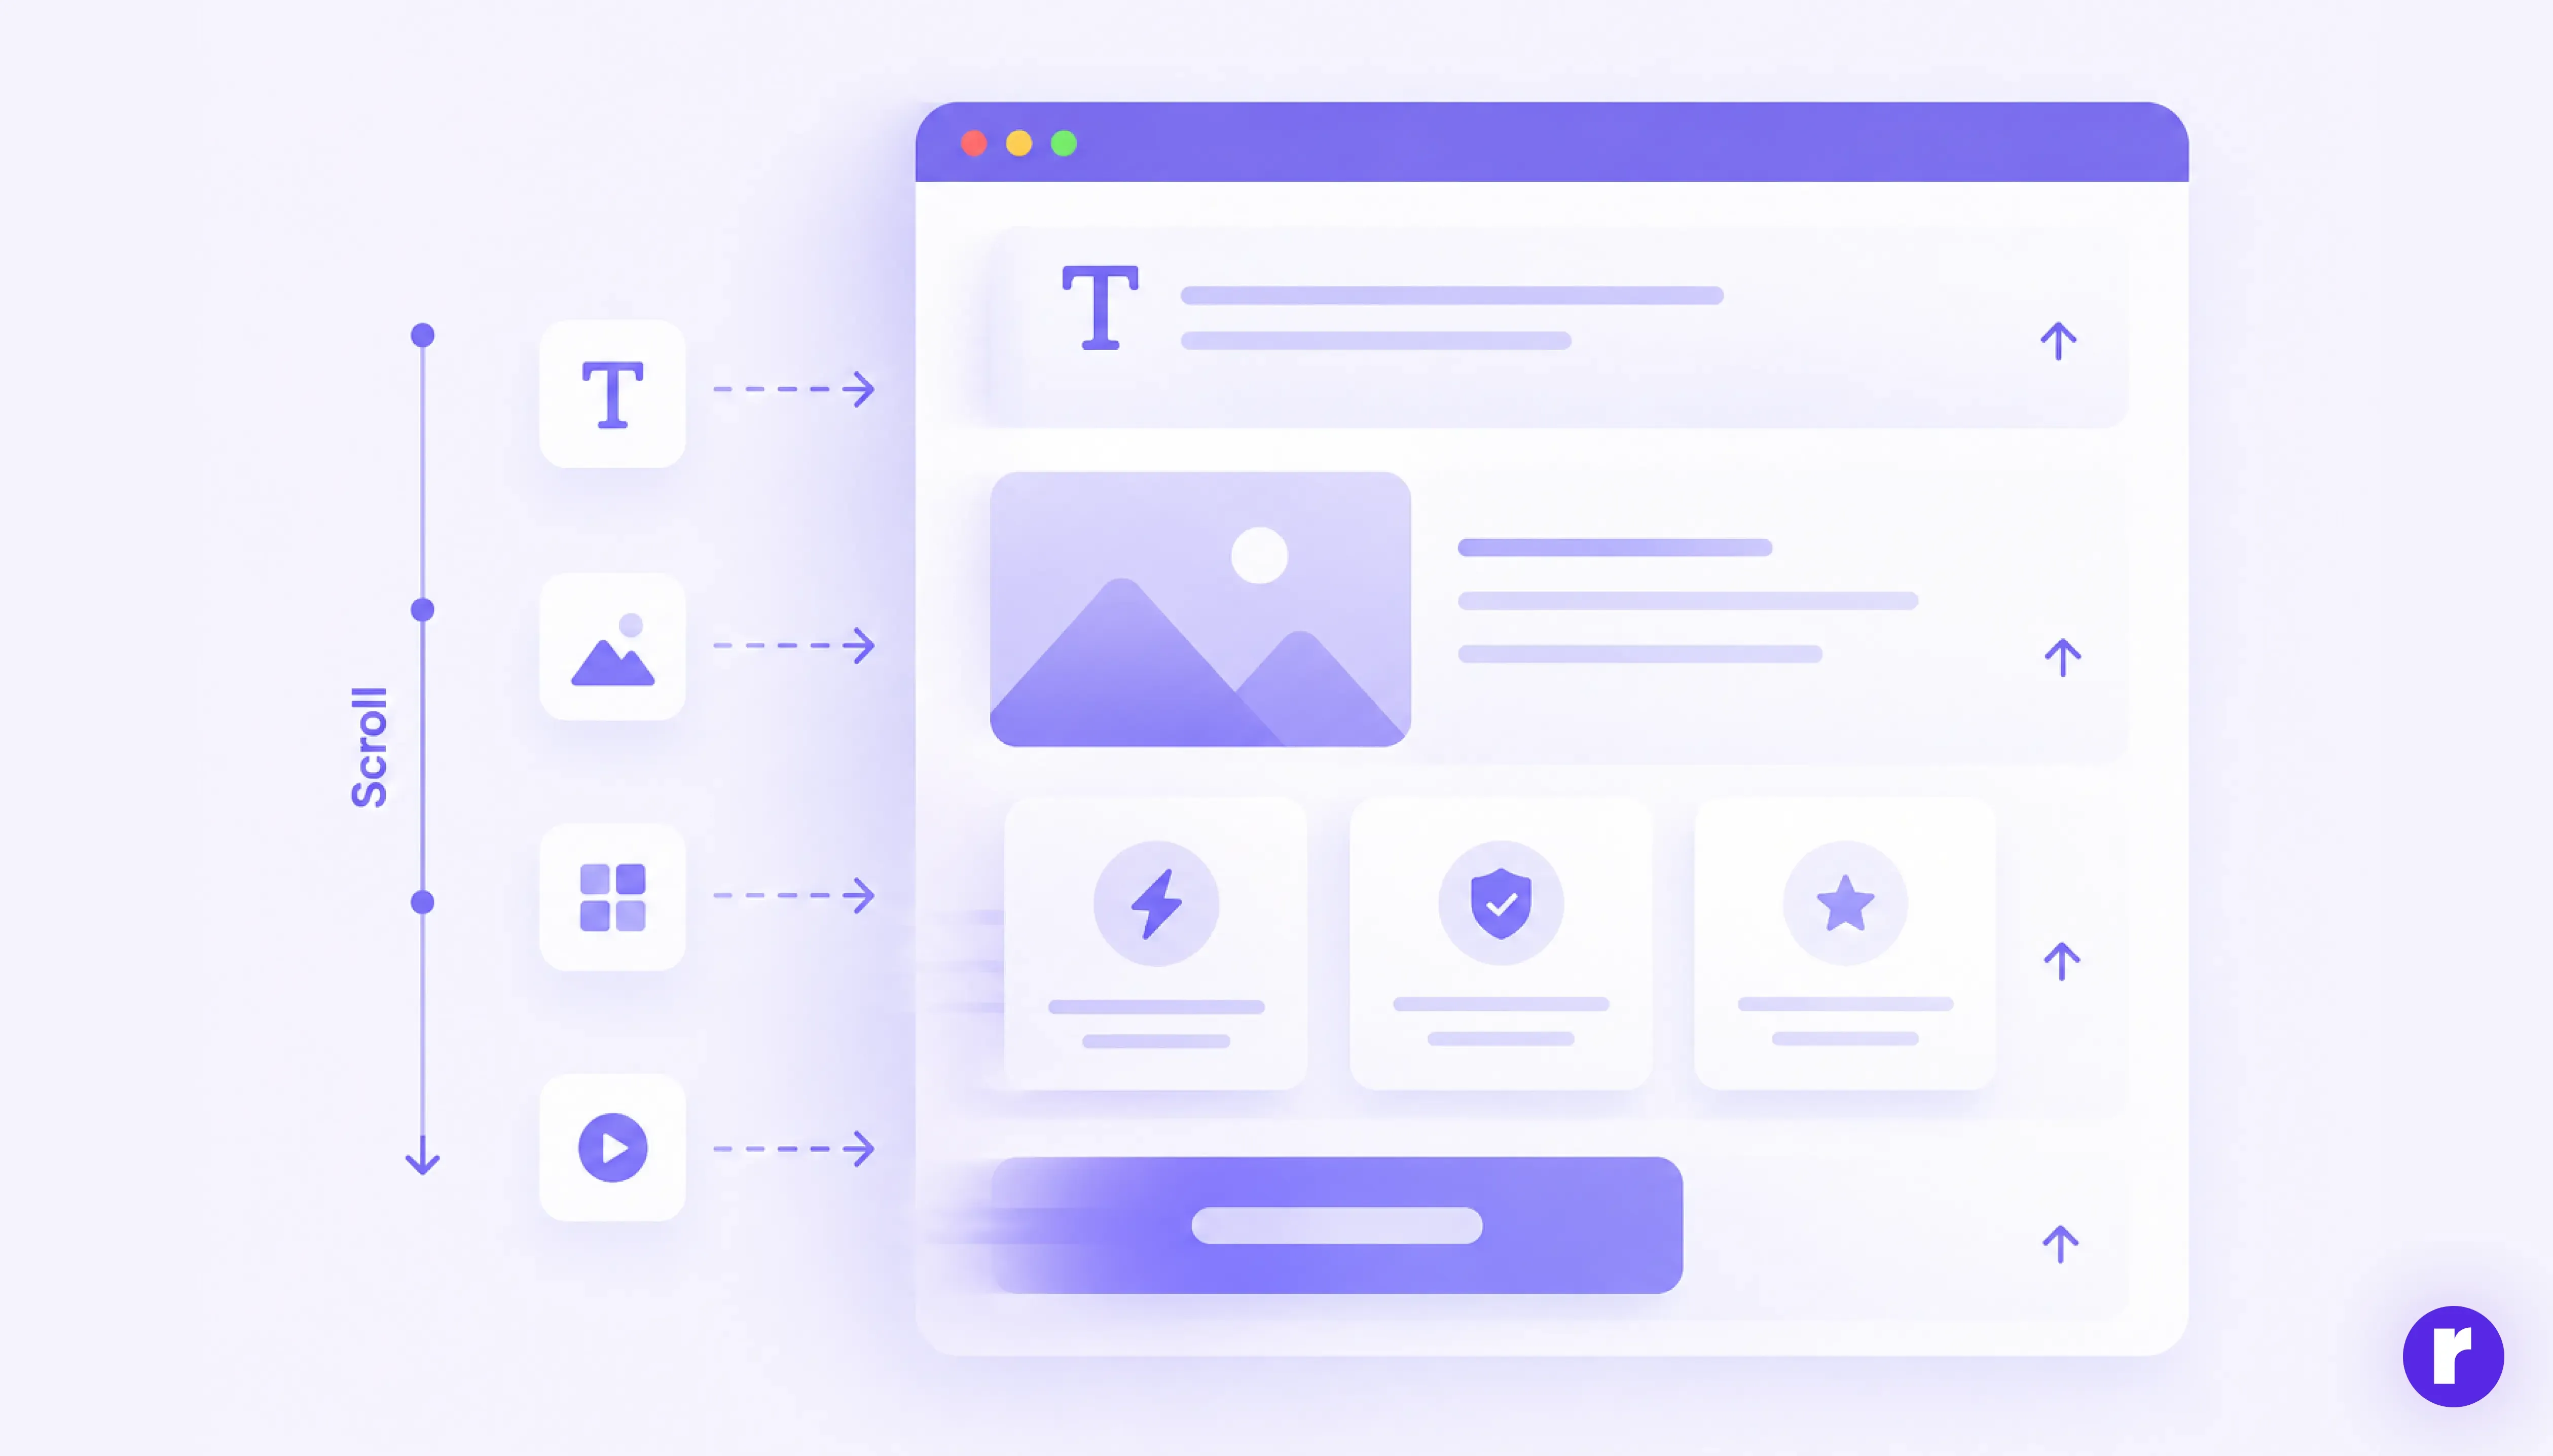
Animations play an important role in creating modern and engaging user interfaces. With AOS, developers can easily introduce smooth scroll-based animations that make web pages feel more interactive and visually appealing.
By animating elements such as headings, images, feature cards, and call-to-action sections, you can guide users’ attention to the most important parts of a page. Instead of displaying everything at once, AOS reveals content gradually as users scroll, which improves readability and keeps visitors engaged.
When used thoughtfully, these animations help create a better visual flow across the interface. Subtle motion can make transitions between sections feel smoother and give the overall design a more polished and professional look.
Advanced Usage
Once you understand the basics of AOS, you can use advanced configurations to handle dynamic content and improve animation behavior in larger React applications.
- Refresh AOS After Dynamic Content
- Reinitialize When Needed
- Global Configuration Options
- You can apply advanced global settings inside AOS.init():
- Once: false → Animation runs every time you scroll
- Mirror: true → Animates again when scrolling up
- Offset → Controls trigger position
If your content loads dynamically (like API data or conditional rendering), animations may not trigger automatically. In that case, use:
AOS.refresh();If components update frequently, you can refresh AOS inside useEffect after updates:
useEffect(() => {
  AOS.refresh();
});
AOS.init({
  duration: 800,
  offset: 120,
  easing: "ease-in-out",
  once: false,
  mirror: true,
});
Conclusion
AOS (Animate On Scroll) makes it easy to add smooth and engaging scroll animations to your React applications. With just a few simple steps — installing the library, initializing it with useEffect, and adding data-aos attributes — you can make your UI more interactive and visually appealing.
By customizing animation settings like duration, delay, and easing, you can create unique effects that fit your design. Even without advanced configurations, AOS lets you quickly enhance your web pages with minimal effort.